Firebase Remote Config in Xamarin Forms
This is the english version of my spanish blog post about how to include Firebase Remote Config in our Xamarin Forms applications.
Introduction
One of the most interesting services offered by Firebase is Remote Config,it is a cloud service that lets you change the behavior and appearance of your app without requiring users to download an app update. When using Remote Config, you create in-app default values that control the behavior and appearance of your app. Then, you can later use the Firebase console or the Remote Config REST API to override in-app default values for all app users or for segments of your user base. Your app controls when updates are applied, and it can frequently check for updates and apply them with a negligible impact on performance.
So, we can create some default values in the application that we can overwrite them through this service. For example:
- If we want to enable or disable some app features (this is the example of this blog post).
- If we want to show more or less info in the app screens.
- If we want to modify the theme or colors of our app.
In our case we have used Firebase Remote Config to allow our QA team to check the app against differents APIs, since we needed to create, update or delete new environments without releasing a new app version.
In the official documentation you can see many advanced use cases like:
- Launch new features with the percentage rollout mechanism.
- Define platform and locale-specific promo banners for your app.
- Test new functionality on a limited testing group.
So, through Firebase Remote Config we can change the behavior and appearance of our app without publishing an app update.
Setup Firebase Remote Config
We can setup Firebase Remote Config through the Firebase portal https://console.firebase.google.com/project/Your-Firebase-Project/config and it is an easy process because the portal GUI is nice and friendly. To do it, we add a new parameter key and the default value and of course it can be a json (the GUI has a tool to validate the format of the json content). In the example case the key will be Features and the default value a json:
{
    "ShowPlayerDetail": false
}
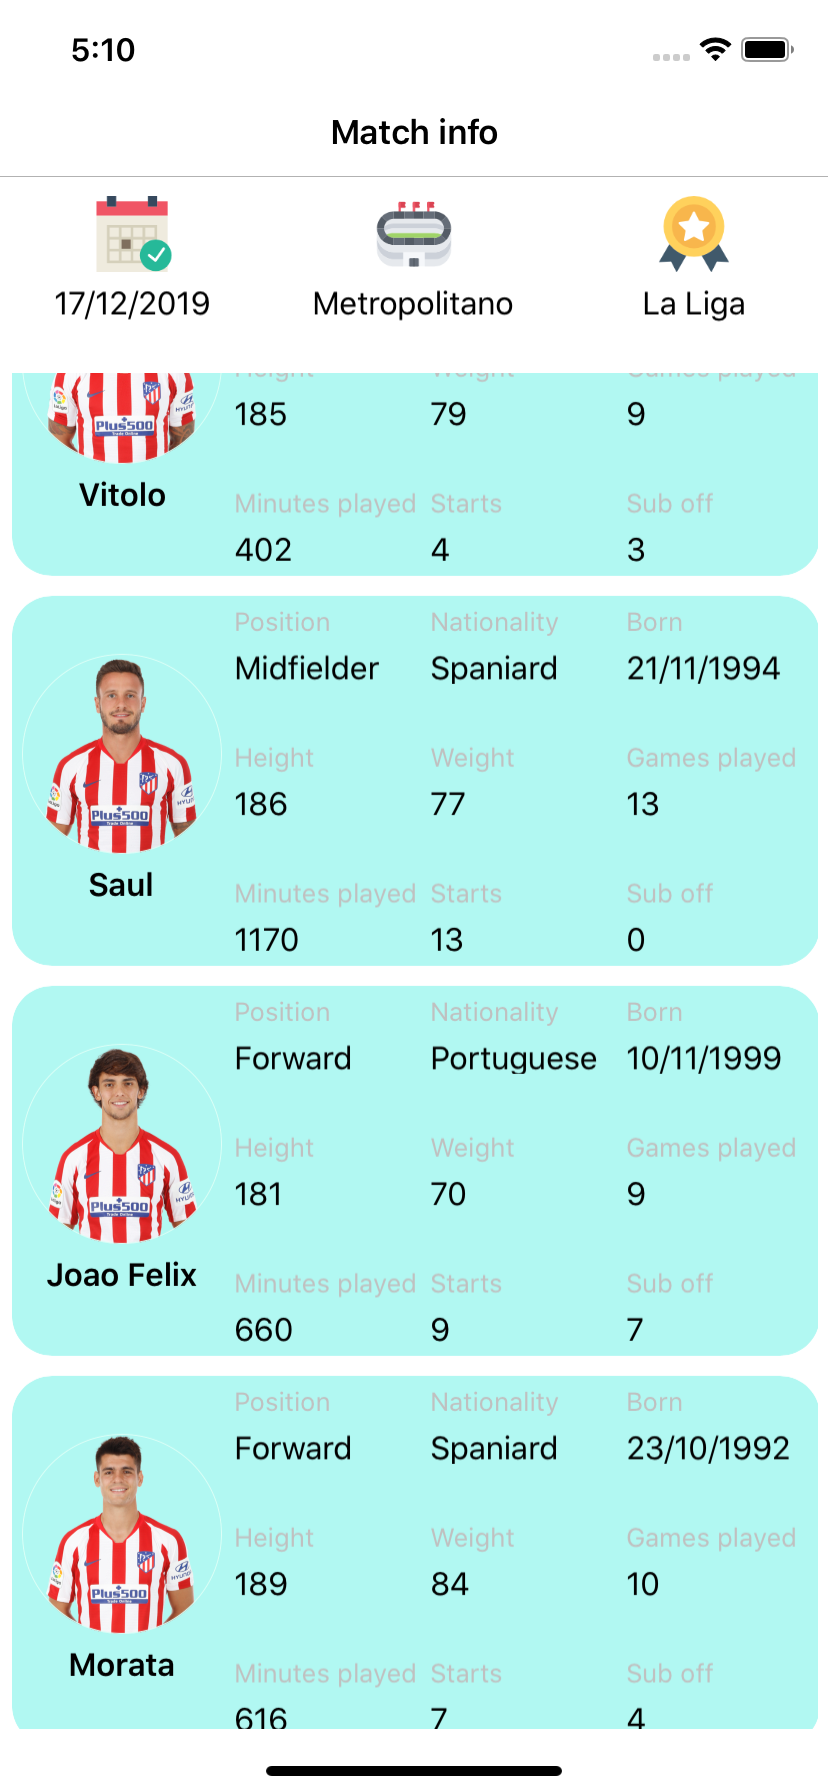
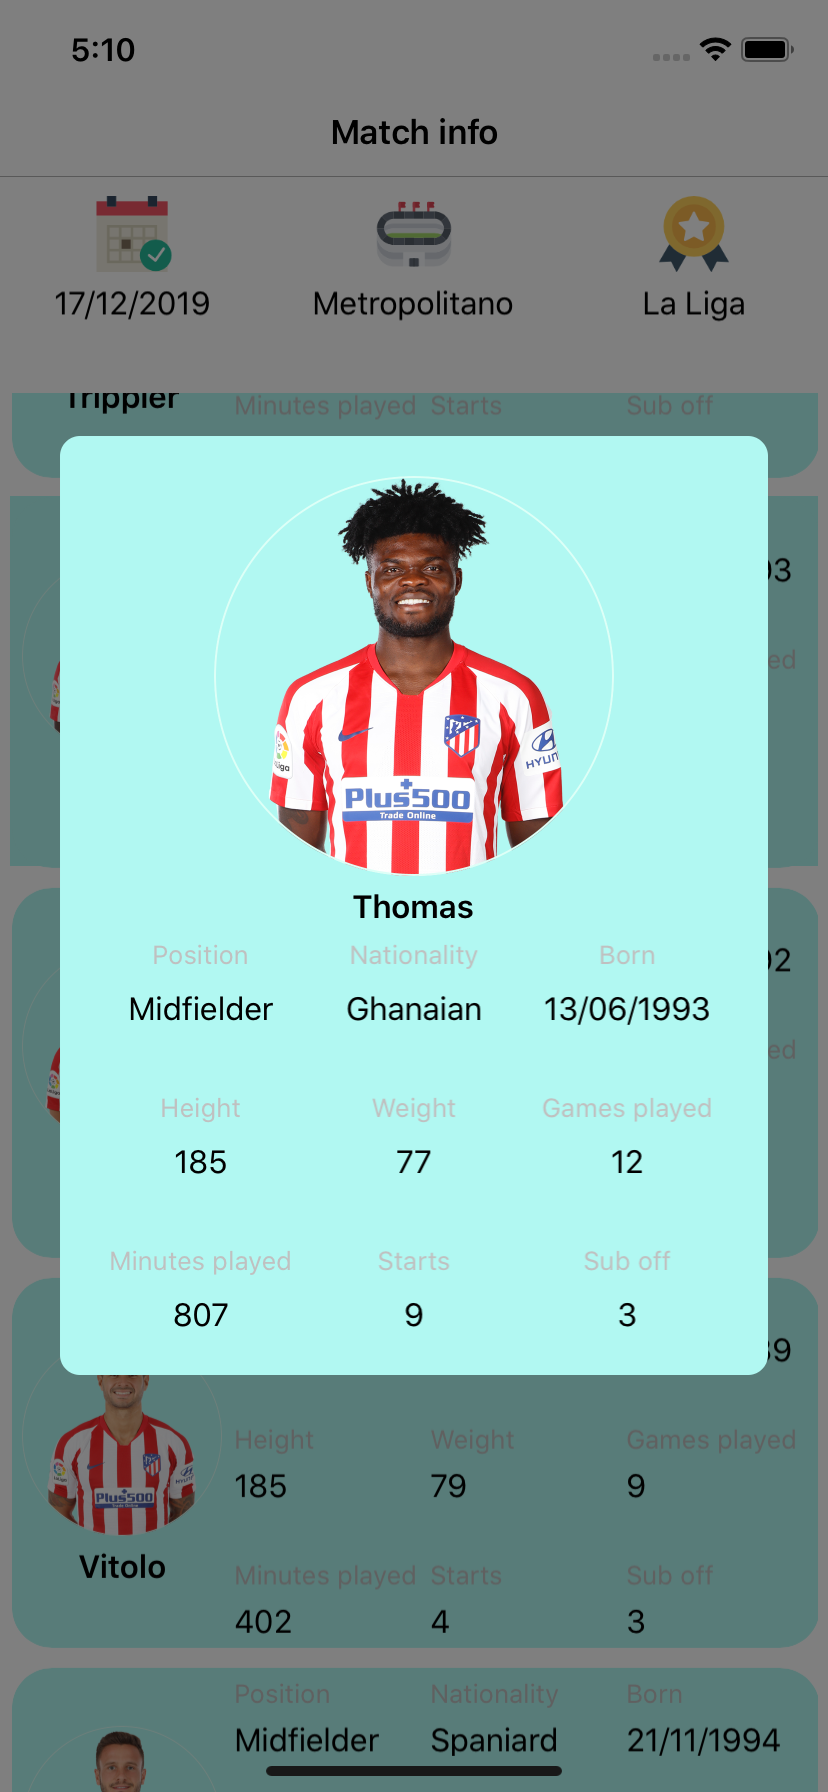
In this case, we setup a key called ShowPlayerDetail to show or not the player detail.
Add the default values to our Android & iOS projects
In the Android platform we have to add a xml file with Build Action -> AndroidResource and the content:
<?xml version="1.0" encoding="utf-8"?>
<defaultsMap>
    <entry>
        <key>Features</key>
        <value>{ "ShowPlayerDetail" : false }</value>
    </entry>
</defaultsMap>
In the iOS platform we have to add a plist file with Build Action -> BundleResource with the same key name (Features) and the same json content as Android platform.
Add nuget packages in our projects
Although there is a nuget package to handle Firebase Remote Config from our .Net Standard project, we have not been able to make it work, so we had to create an interface and implement it on the different platforms based on the use of different nuget packages.
For the Android platform the nuget package we have used is:
- Xamarin.Firebase.RemoteConfig (71.1610.0).
For the iOS platform the nuget package we have used is:
- Xamarin.Firebase.iOS.RemoteConfig (3.0.0).
With higher versions to 3.0.0 of Xamarin.Firebase.iOS.RemoteConfig we had many issues so we had to work with an old one.
Create an interface and implement it in both platforms
To handle both nuget packages from our .NetStandard project we define an interface with two methods: one to fetch and activate the values from Firebase (FetchAndActivateAsync) and the other to get the value of the requested key (GetAsync).
Be careful! This is an example implementation, and it´s coded to run in the current example and context, in another use cases is better to split the fetch methods and the activate method and depends on your scenario.
public interface IRemoteConfigurationService
{
    Task FetchAndActivateAsync();
    //Use a generic to setup the returned object
    Task<TInput> GetAsync<TInput>(string key);
}
This is the Android implementation.
public class MyRemoteConfigurationService : IRemoteConfigurationService
{
    public MyRemoteConfigurationService()
    {
        //Set the default values
        FirebaseRemoteConfig.Instance.SetDefaults(Resource.Xml.RemoteConfigDefaults);
    }

    public async Task FetchAndActivateAsync()
    {
        //Fetch remote values
        await FirebaseRemoteConfig.Instance.FetchAsync();

        //Activate new values
        FirebaseRemoteConfig.Instance.ActivateFetched();
    }

    public async Task<TInput> GetAsync<TInput>(string key)
    {
        var settings = FirebaseRemoteConfig.Instance.GetString(key);

        return await Task.FromResult(Newtonsoft.Json.JsonConvert.DeserializeObject<TInput>(settings));
    }
}
The ActivateFetched method is deprecated in next versions (please use the Activate method).
This is the iOS implementation.
public class MyRemoteConfigurationService : IRemoteConfigurationService<RemoteConfiguration>
{
    public MyRemoteConfigurationService()
    {
        //Set the default values
        RemoteConfig.SharedInstance.SetDefaults("RemoteConfigDefaults");
    }

    public async Task FetchAndActivateAsync()
    {
        //Fetch remote values
        var status = await RemoteConfig.SharedInstance.FetchAsync(0);
        if (status == RemoteConfigFetchStatus.Success)
        {
            //Activate new values
            RemoteConfig.SharedInstance.ActivateFetched();
        }
    }

    public async Task<TInput> GetAsync<TInput>(string key)
    {
        var settings = RemoteConfig.SharedInstance[key].StringValue;
        return await Task.FromResult(Newtonsoft.Json.JsonConvert.DeserializeObject<TInput>(settings));
    }
}
Executing our example in both platforms
In the example we can see that if we deactivate the option to see a player detail in Firebase Remote Config how in both platforms and without build or release a new version the behavior is changed.
Links
- If you want to take a look to the source code the repository is hosted in Github.
- Use cases.
- Loading strategies.
- Throttling.
- Propagate updates in real time.